Size chart
Manual Guide
Video Manual
Do’s and don’ts
Book Video Consultation
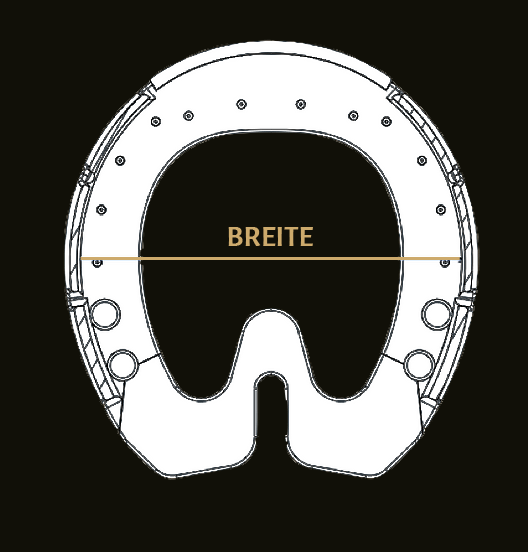
SIZE CHART
Please measure the width of the hooves to order the right size for each horse

VIDEO MANUAL
If you are working the first time with the performer we would also ask you to book a free videocall.
How to attach the Performer
How to remove the Performer
How to reuse the Performer
ASSEMBLY INSTRUCTIONS
STEP-BY-STEP ASSEMBLY
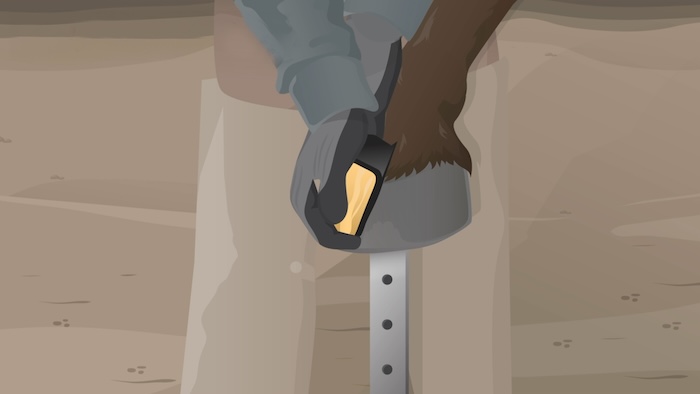
Step 1
First of all, clean the entire hoof wall up to the seam band with sandpaper, we recommend a grain size of 80-100.
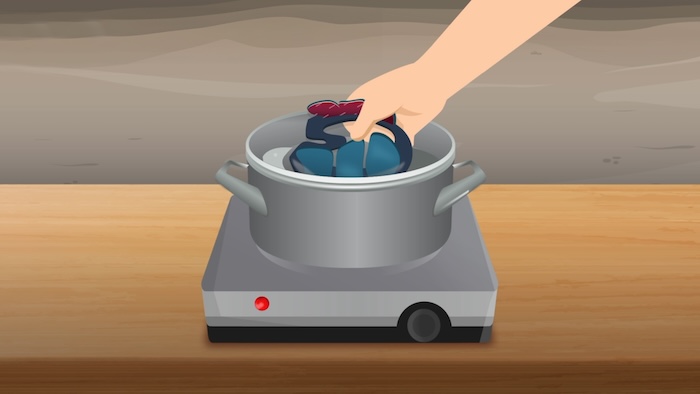
Step 2
Check the size of the hoof protection and then heat it in boiling water for about 4-8 minutes, depending on the size of the hoof protection. If necessary, cut off some of the tabs if they are too large.

Step 3
Then mold the thighs to the shape of the hoof and cool them. Then rinse the hoof protection in cold water for a few seconds. Make sure that it does not become deformed again during this period.
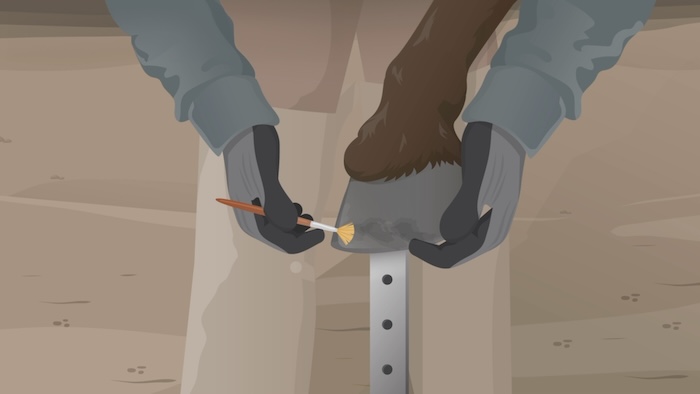
Step 4
Now prime the clean hoof wall generously with the enclosed primer and leave to dry for approx. 30 seconds. The hoof wall must now no longer be soiled or touched.

Step 5
HeatNow heat the tabs of the hoof protection with a hot air dryer in flowing movements until they soften and become soft. can be deformed. Keep a distance of about 30 cm.
Step 6
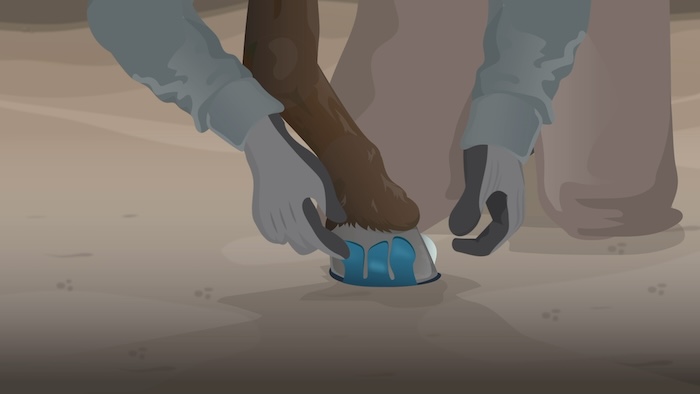
Now remove the front two protective foils and carefully center the hoof protection on the hoof. The two adhesive tabs must not touch the hoof wall during centering. Now apply pressure to the toe and apply flaps from the bottom to the top of the hoof wall.
Step 7
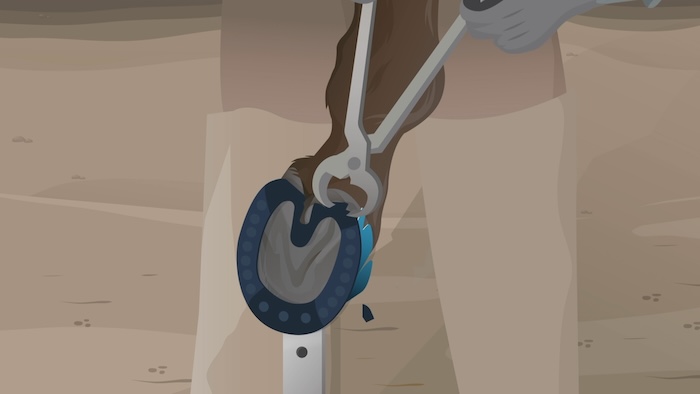
Now carefully set the hoof down and repeat the process for the other flaps. The flaps must lie evenly and flush against the hoof wall. Finally, please cut the black plastic in the area of the heels to prevent the hoof protection of the hoof protection.
Please do not hesitate to contact us if you have any questions, our team will also be happy to support you with a free video call when installing the performer.
to avoid injury, please follow the steps carefully.
DO’S AND DON’TS
THE MOST COMMON MISTAKES TO AVOID
DO
DONT’S
DO’S
Use a pot with a hotplate
Use a heat gun
Glue the tabs from bottom to top
Always trim excess shoe
Keep the primed hoof clean
Only bend the tabs as far as necessary
Glue only on the hoof horn
DON’TS
Using a kettle
Use a hair dryer
Glue the tabs from top to bottom
Not trimming excess can cause damage to the product
Touching/soiling the hoof after primer
Overbending the tabs can lead to breakage
No glueing on skin or hair
VIDEO CONSULTING
Book a call with us, so that we can help you
Do not hesitate to arrange a free video call with our team, where we will go through the attachment process with you step by step.
CONTACT
We look forward to hearing from you!
CONTACT
We look forward to hearing from you!
Telephone
+43 2252 261026